The red-blue split in the Douyin logo is really just a channel offset. Trace the outline with the Pen, duplicate the layer, nudge the two copies apart, fill them red and blue, then add a background and you're done. Four steps, and the principle behind it becomes obvious.
Step 1: Get an image and trace the outline
-
Practice image — the site provides a high-resolution original you can save and practise on

-
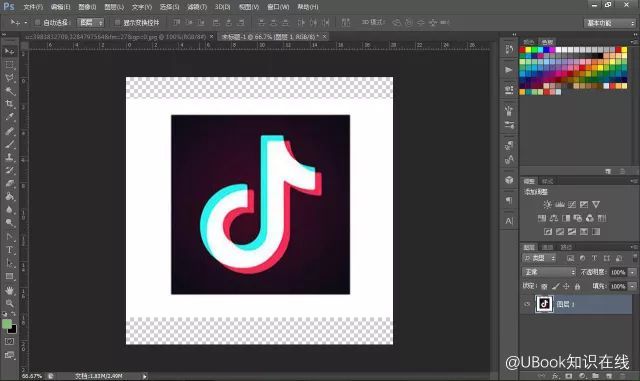
Open PS , then drag the image you want to draw into it (or start from a blank canvas). Here we work straight from the original Douyin logo.
-
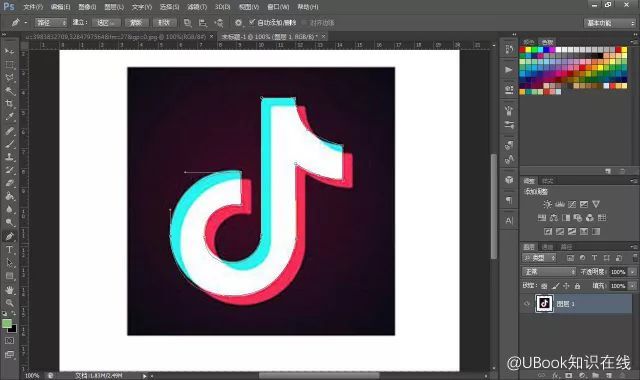
Pick a tool: in the left toolbar, find the icon that looks like a pen — the Pen tool. Use it to trace around the edge of the Douyin logo, point by point. It doesn't have to be precise; roughly the right shape is enough.
-
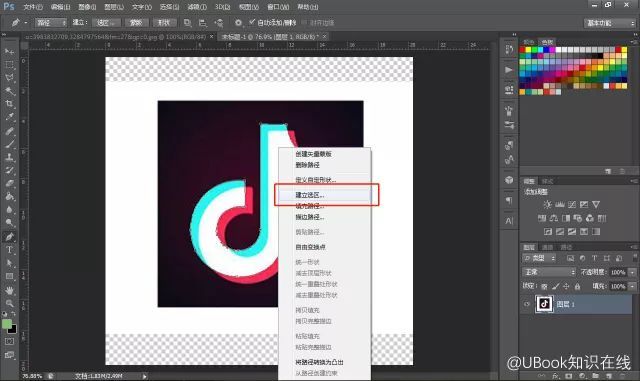
Once traced, right-click the path you just drew and choose “Make Selection”. Then press Ctrl+Delete (Windows) or Cmd+Delete (Mac) to fill the selected area with white.
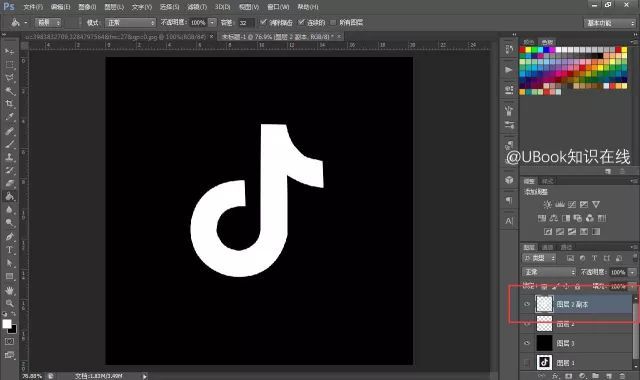
You now have a pure white Douyin logo!
Step 2: Duplicate the layer and build the red-blue effect
-
Duplicate the layer: in the Layers panel, select the white logo layer you just filled, and press Ctrl+J (Windows) or Cmd+J (Mac) to duplicate it. You now have two identical white logos.
-
Offset it: select the upper layer and nudge it slightly right and up with the mouse (or left and down, whichever offset you prefer). The two logos are now slightly apart — that is the seed of the glitch-art look.
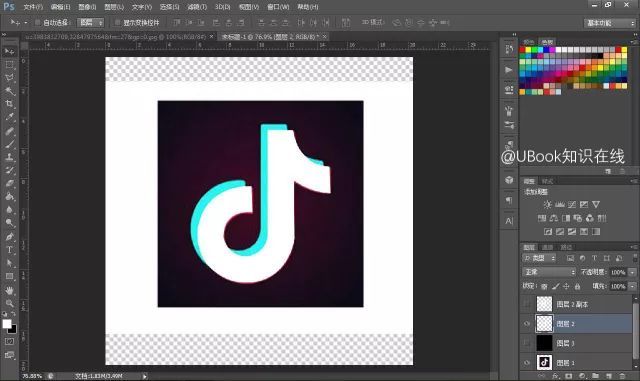
Step 3: Colour the two layers and split red from blue
This is the key step. We want the upper and lower layers to show different colours.
-
Deal with the lower layer first:
- Select the lower logo layer.
- At the bottom of the Layers panel, click the little “fx” icon and choose “Blending Options...”.
- In the window that opens, find the “Channels” option.
- Tick only “R” (the red channel) and untick “G” (green) and “B” (blue).
- Click OK. The lower logo now shows only its red parts.
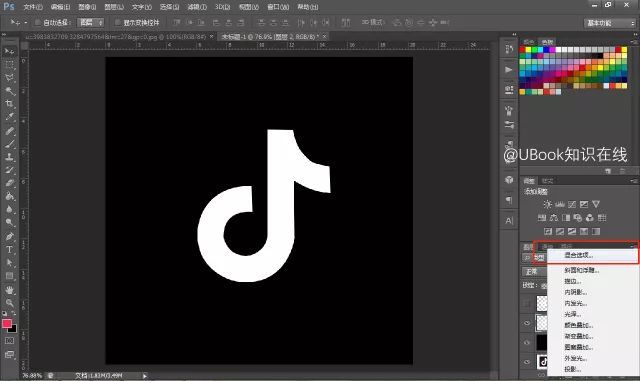
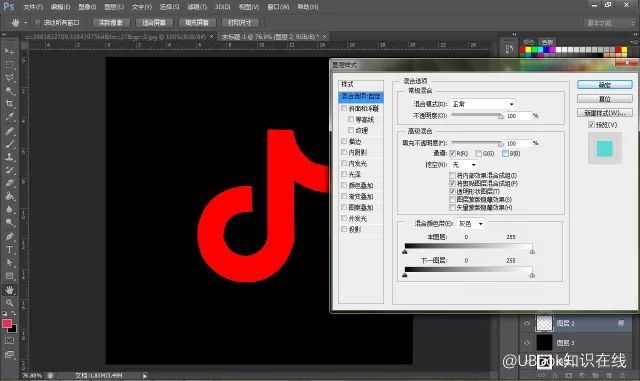
-
Then the upper layer:
- Select the upper logo layer.
- Click “fx” again and choose “Blending Options...”.
- Under “Channels”, this time tick only “G” and “B”, and untick “R”.
- Click OK. The upper logo now shows only its green and blue parts.
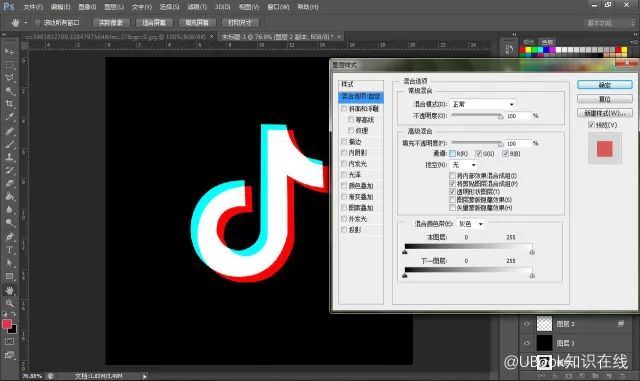
And there it is! Because the two layers are slightly offset and their colour channels are split, you get that classic red-and-blue ghosting of the Douyin logo.
Step 4: Add a background and call it done
Finally, to make the piece look more complete and more polished, create a new layer at the very bottom and pull a nice background gradient with the Gradient tool (say deep blue to light blue, or black to grey).
Done — your Douyin logo is finished!

References
- Online PS
- Adobe official documentation
- Photoshop tutorial sites