A caterpillar's spines are harder to cut out than hair. This walkthrough runs the Extract filter twice: first for the black hairs, then for the white ones, with a mask to clean up the leftovers and a stamp-and-color pass at the end. Every step has a screenshot, so you can just follow along.
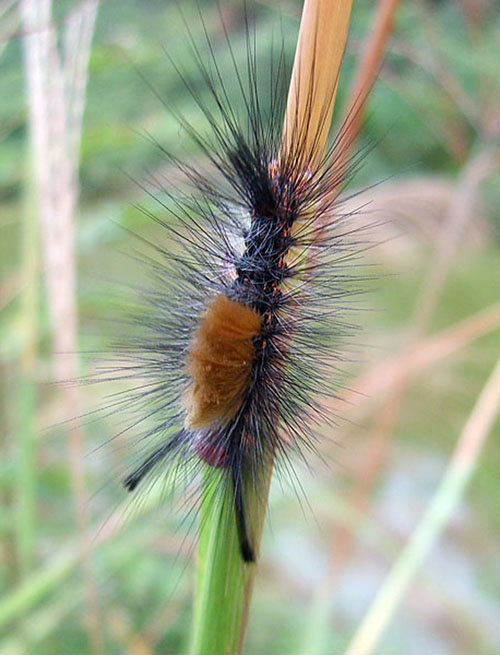
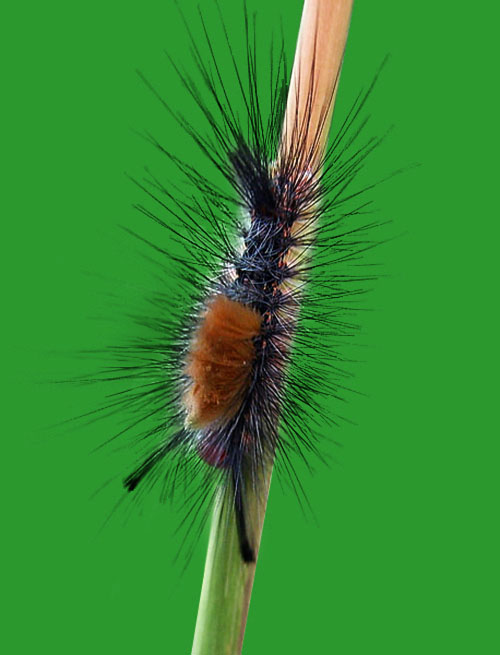
Prepare the layers
Before we start, a bit of groundwork:
- Open your image.
- Duplicate the layer three times (Ctrl+J three times), so you have several backups to work on.
- Create a new "base color" layer at the very bottom. Pick green or another bright color so it is easy to see how clean the cutout is.
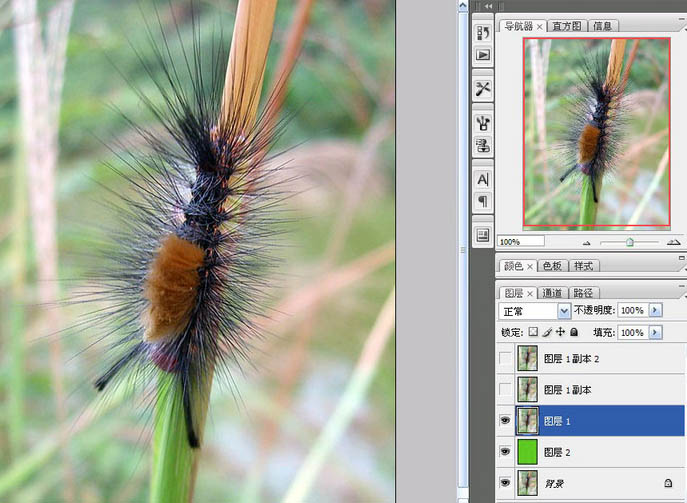
First Extract pass — the black hairs
Next we use the Extract filter on the hardest part: the fine black hairs.
- Select "Layer 1".
- Click the menu bar → Filter → Extract.
- In the dialog that opens, zoom in on the image for better precision.
- Pick the "Edge Highlighter" tool from the left toolbar and set the brush size to 4 pixels (the smaller the brush, the finer the result).
- Tick "Force Foreground" at the bottom and set the color to black (so the black hairs are picked up).
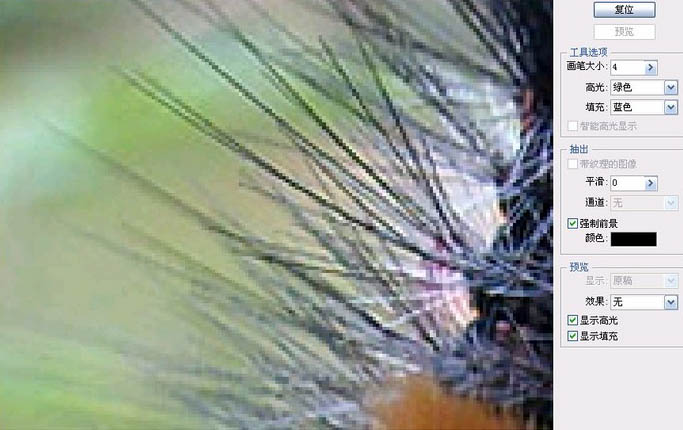
Trace slowly — one hair at a time!
This is the most important part of the whole process, and the one that tests your patience:
- The caterpillar's hairs are fine and dense, and they blend heavily into the background, so do not take the shortcut of a big brush.
- Work like you are embroidering: cover the hairs one by one. Don't blink, and don't let your hand shake.
- If you paint over the wrong spot, gently erase it with the "Eraser" in the top-left corner.
- For even finer hairs, set the brush smaller than 4 pixels.
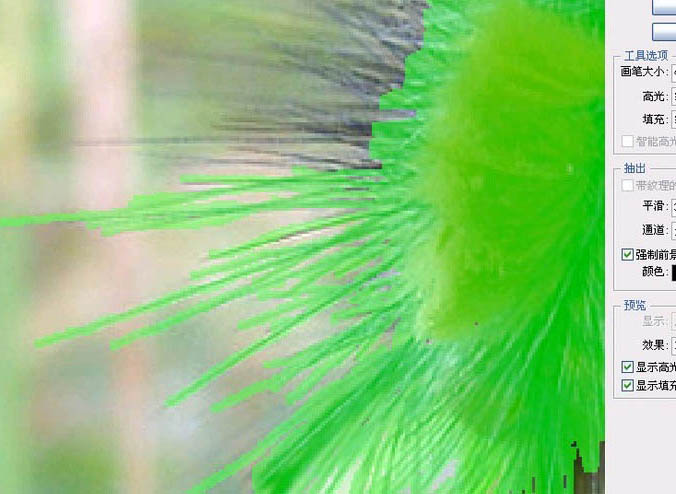
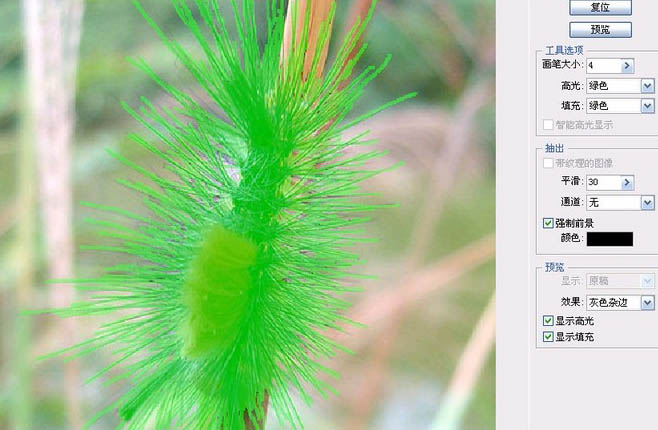
Check the result — the black hairs are out!
"Layer 1" should now have a transparent background with only the crisp black hairs left on it.
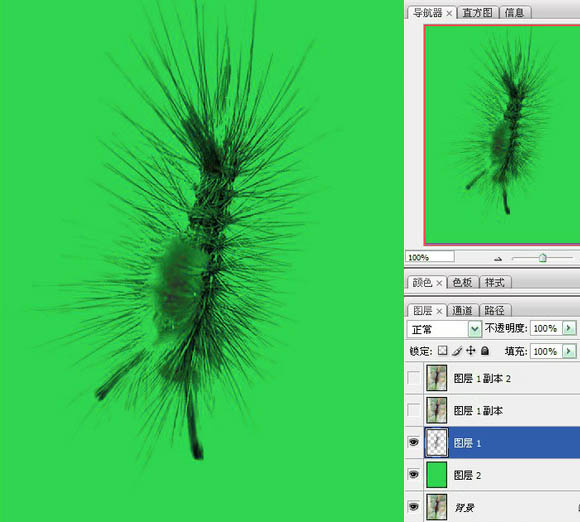
Second Extract pass — the white hairs
Now it is the white hairs' turn:
- Duplicate "Layer 1" to get "Layer 1 copy".
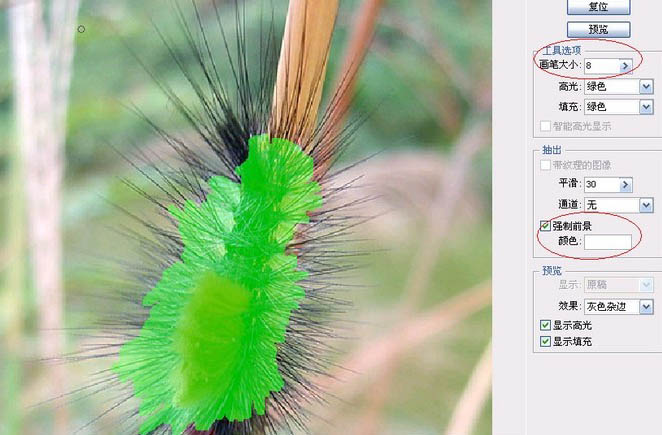
- Open the Extract filter again, and this time change "Force Foreground" to white (so the white hairs are picked up).
- You can raise the brush size a little, for example to 8 pixels, to paint over all the white areas quickly.
Erase the excess white hairs
After extracting you may see some over-rendered patches:
- Click "OK" and you will notice that some areas look too pure white.
- Add a new "white mask", then use the Eraser tool (with the foreground color set to black) to carefully erase the surplus white.
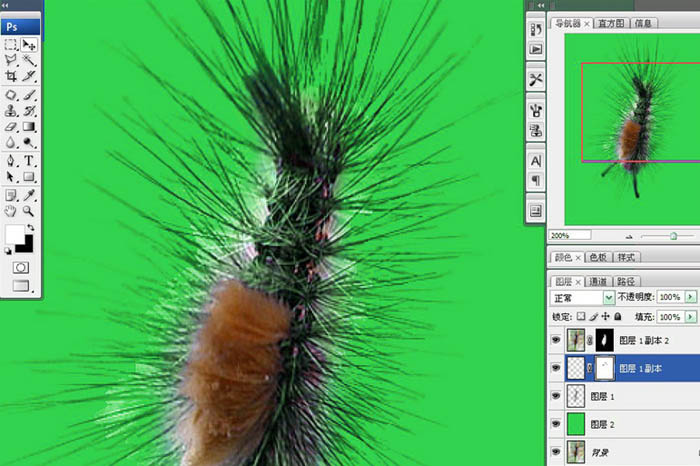
Paint in the body (with a black mask)
To make the whole thing look natural, refine the body itself:
- Duplicate the layer once more and name it "Layer 1 copy 2".
- Add a "black mask" (hold Alt and click the Add Layer Mask button).
- Set the foreground color to black and use the Eraser tool to reveal the outline of the caterpillar's body (the solid parts, not the hairs).
💡 Tip: If the hairs still don't stand out enough, try the following to strengthen the detail:
- First click the little eye icon in front of the black mask (to view the mask itself).
- Use the "Lasso tool" (set to about 20 pixels) to roughly select the area of the caterpillar's body.
- Right-click and choose "Inverse", then use "Levels" to deepen the texture of the hairs.
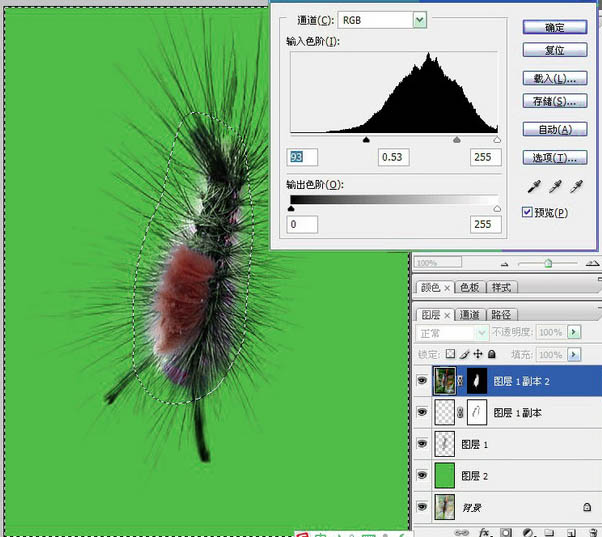
Final touches — trim the stalks, stamp, color grade
Time to wrap up with a few small adjustments that lift the image:
- Keep using the Eraser tool to clean up the "stalk-like" parts at the top and bottom of the caterpillar.
- Without changing the current layer, press Alt+Ctrl+Shift+E to run "Stamp Visible" (which merges all visible layers into one new standalone layer).
- On that new layer, raise the "Saturation" and "Sharpness" values a little so the caterpillar looks more vivid and three-dimensional.
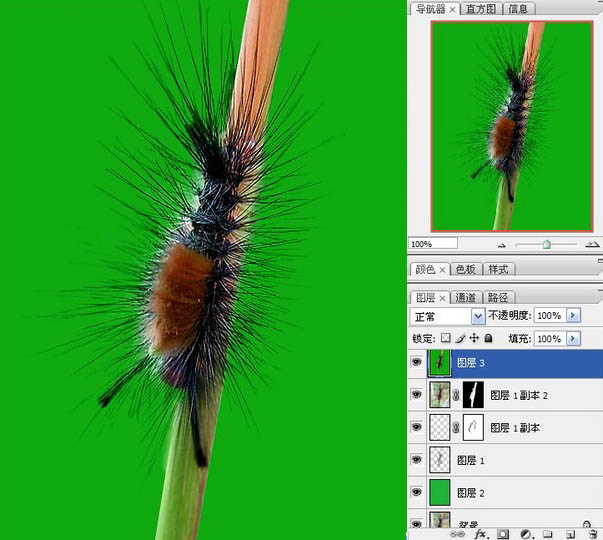
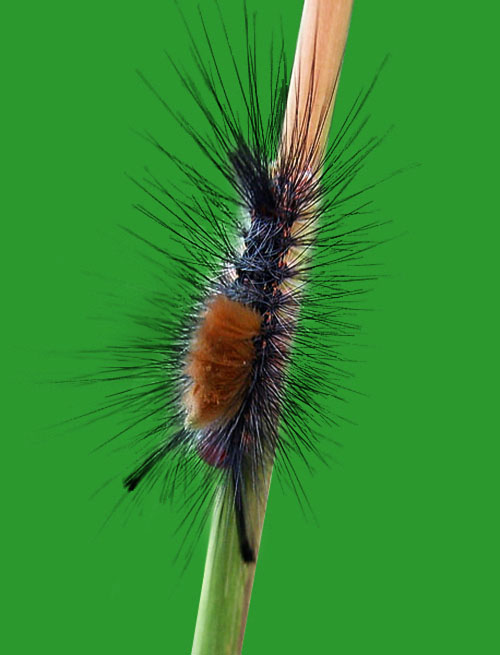
Key points at a glance:
| Step | Key action | Tip |
|---|---|---|
| 1 | Three layers + a base color layer | Use a bright base color so you can see the edges |
| 2 | Extract filter + black foreground | Small brush, trace patiently |
| 3 | Trace + erase the excess | The finer the better — don't rush |
| 4 | Extract again with a white foreground | For white hairs the brush can be larger |
| 5 | Mask and erase the leftovers | Erase white with a black brush |
| 6 | Reveal the body through a black mask | Use Lasso + Levels to boost the detail |
| 7 | Stamp + color grade | The last step that makes it pop |
Once you have this method down, no "furry and messy" image will scare you again. Give it a try!