The secret to ice text is the shattered look. Crystallize breaks up the edges, the Wind filter pulls out icicles, Curves adds clarity, Plastic Wrap gives the surface its icy sheen, and a scatter of snowflakes finishes it off. Nine steps, about ten minutes.
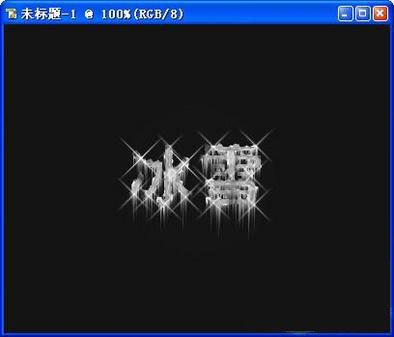
1
🛠️ Step 1: New document + type your text
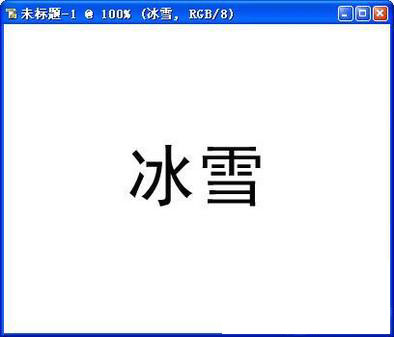
- Open Online PS and create a blank canvas (any size will do).
- Find the "T" Type tool in the left toolbar, click once on the canvas, and type the word you want — "ICE", for example.
- Once you finish typing, PS automatically creates a "type layer" for you. Leave it alone; we need it in the next step.
2
🔍 Step 2: Select the text area
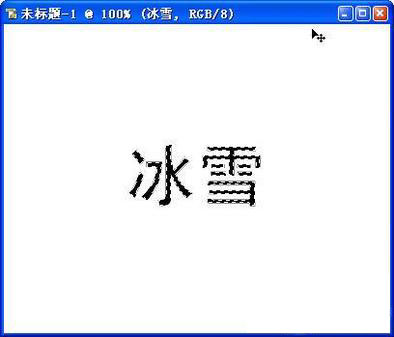
- Hold down the Ctrl key and left-click the "type layer" in the Layers panel.
- You will see "marching ants" appear around the letters — that is your selection.
3
🧩 Step 3: Merge the layers + invert the selection
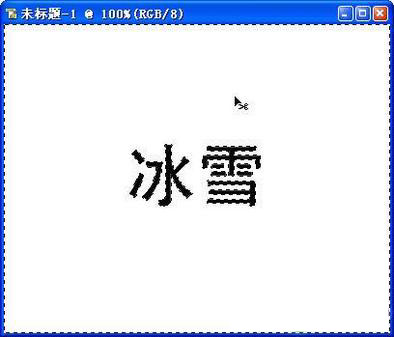
- Press Ctrl+E to merge the type layer and the background layer into one.
- Click the menu bar → Select → Inverse (or press Shift+Ctrl+I), so what is now selected is everything except the text.
4
🧊 Step 4: Add the "Crystallize" effect (to shatter the edges)
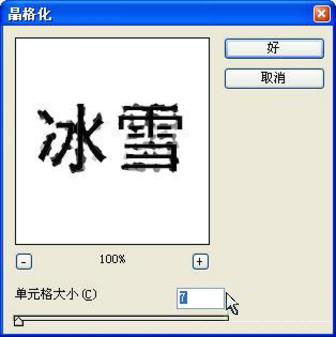
- Click the menu bar → Filter → Pixelate → Crystallize
- In the dialog, set "Cell Size" to around 50 (experiment with the value — the larger it is, the more shattered the edges look)
- Click "OK"
5
🌀 Step 5: Blur + Curves
- Press Shift+Ctrl+I again to invert the selection back (now the text itself is selected)
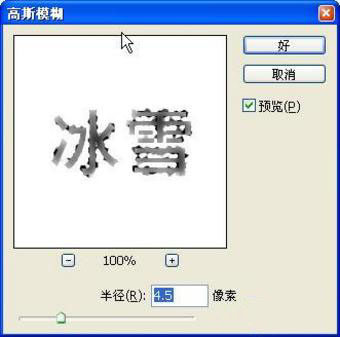
- Click the menu bar → Filter → Blur → Gaussian Blur
- Set the radius to about 2 pixels
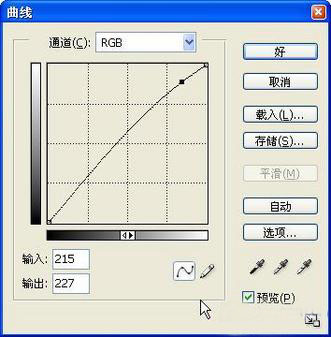
- Then click → Image → Adjustments → Curves
- Pull the curve into an "S" shape to boost the contrast a little (see the image below)
6
🔄 Step 6: Invert + apply the Wind filter
- Press Ctrl+D to deselect
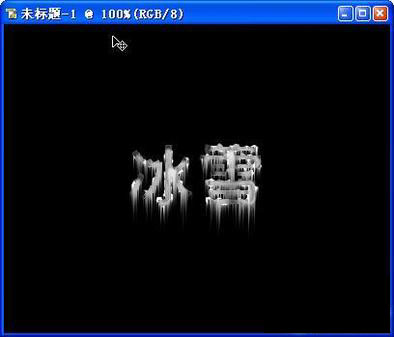
- Click → Image → Adjustments → Invert (or press Ctrl+I); the image flips to a negative
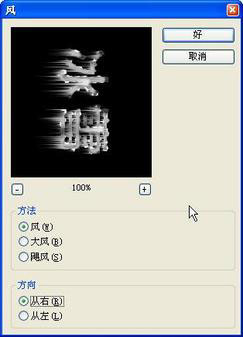
- Click → Filter → Stylize → Wind
- Choose "Wind" or "Blast", with the direction set to "From the Left"
- Click "OK"
- Then click → Image → Image Rotation → 90° Counter Clockwise to turn the canvas back
7
🎨 Step 7: Color grade + Plastic Wrap texture
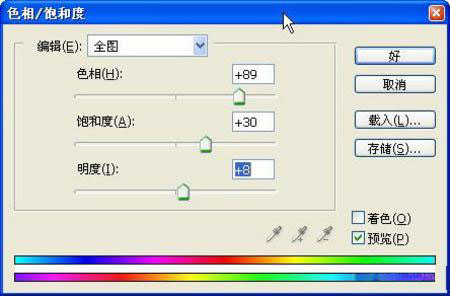
- Click → Image → Adjustments → Hue/Saturation
- Set Hue to around 200 (a blue range) and raise the Saturation a little
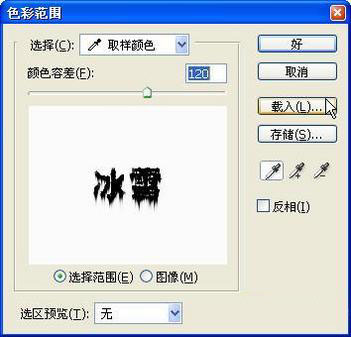
- Click → Select → Color Range
- Use the eyedropper to click a white area, then set Fuzziness to around 30
- Click "OK" to get a selection of the white parts
- Click again → Select → Inverse
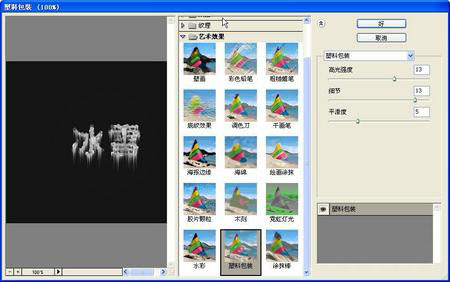
- Click → Filter → Artistic → Plastic Wrap
- Highlight Strength: 10, Detail: 10, Smoothness: 5
- Click "OK", then press Ctrl+D to deselect
8
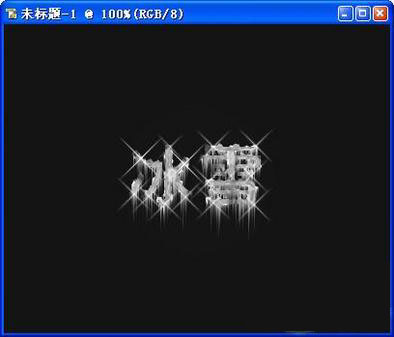
🖌️ Step 8: Add snowflakes and ice crystals (it makes the look!)
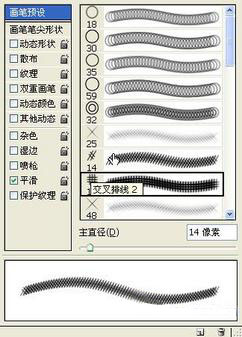
- Select the "Brush tool" in the left toolbar
- In the options bar at the top, pick a "snowflake" or "scatter" brush (a plain round brush works if you don't have one)
- Right-click at different spots on the canvas → adjust the brush size → click a few times to create falling snow or ice crystals
9
🖼️ Step 9: Swap in a background + you're done!
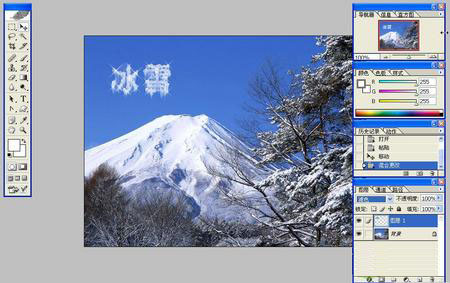
- Find and open an image you like (a snowy mountain, a night sky, a frozen lake…)
- Go back to your "ice text" file → Select All (Ctrl+A) → Copy (Ctrl+C)
- Switch to the background image → Paste (Ctrl+V)
- In the Layers panel, change the blending mode of the "ice text" layer to "Screen"
- Adjust the position and size, and you're finished!
🎁 Tips:
- If it looks too bright, switch "Screen" to "Overlay" or "Soft Light"
- Want a colder feel? Try pushing the hue toward cyan-blue
- Save as PNG so the transparent background is preserved
Once you have this method down, any "icy and atmospheric" image is within reach. Give it a try!