A red seal needs that aged look of ink pressed onto rice paper. Type the characters, rasterize them, build a selection and fill it red, add noise and a little Gaussian blur, run Find Edges to roughen the borders, then overlay rice-paper texture and a round frame. It is a very common asset to make in Online PS for Chinese-style designs.
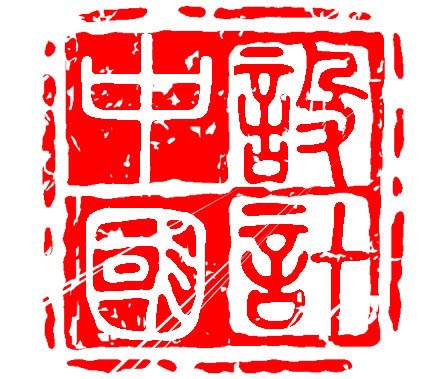
✅ Step by step
🖼️ Image 2: New canvas + type → get the characters down first!
- Open PS → [File] → [New] → set 800x800 pixels with a white background
- Choose the [Type tool] T → click in the middle → type the character you want (one meaning "fortune" or "longevity", for example)
- Pick a seal-script font such as Hanyi Zhuanshu or Founder Xiaozhuan, and set a fairly large size
📌 Tip: don't use Microsoft YaHei or SimSun — they look far too modern for a seal!
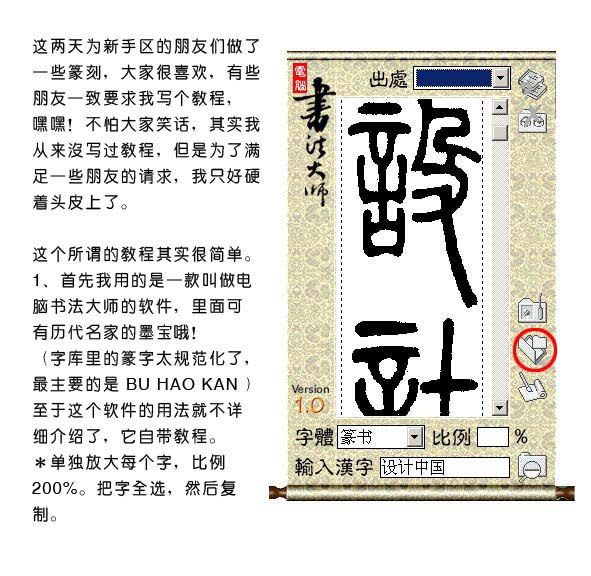
🖼️ Image 3: Rasterize the type + create a selection → you need to "enclose" the character before you can color it!
- Right-click the type layer → [Rasterize Type] (it becomes a normal layer)
- Hold Ctrl and left-click the layer thumbnail → "marching ants" appear, which means the selection worked
💡 The selection is just "the text area selected" — it is what lets you fill color and add effects afterwards.
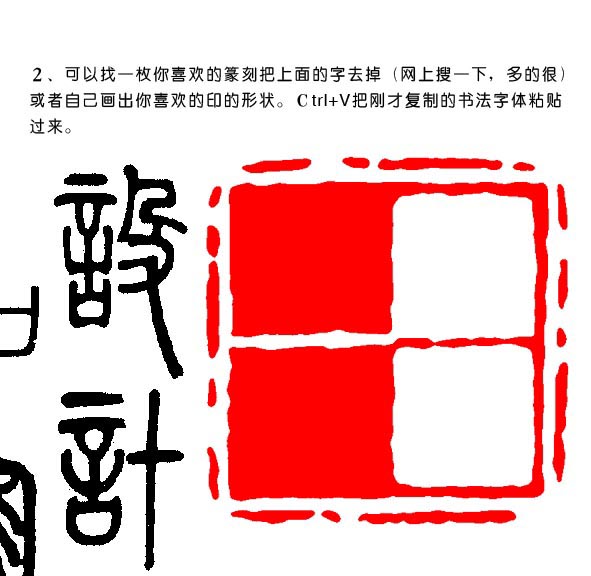
🖼️ Image 4: New layer + fill with red → color the character and build the base of the seal!
- Create a new layer (Ctrl+Shift+N)
- Make sure the selection is still active → press Alt+Delete to fill with the foreground color
- Click the foreground color → change it to cinnabar red (RGB: 200, 0, 0)
- Press Alt+Delete once more → the text area turns red!
✅ This step "colors the character" and forms the base of the seal.
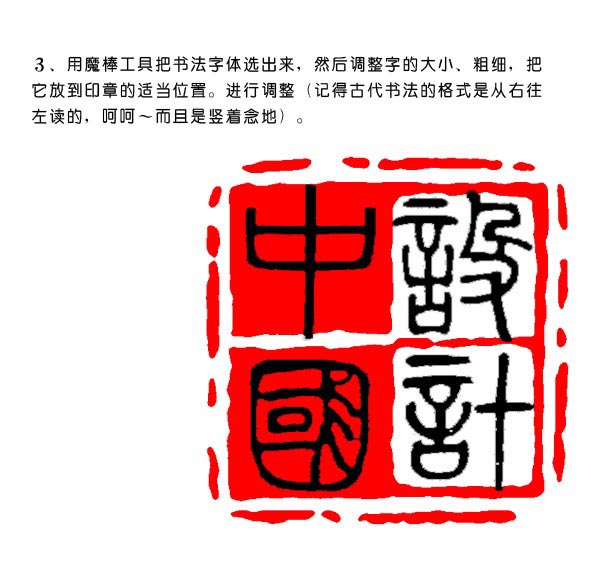
🖼️ Image 5: Add noise + Gaussian blur → make it look like the ink didn't press evenly!
- Select the red layer → [Filter] → [Noise] → [Add Noise]
- Amount: 5%-10%, Distribution: Gaussian, and tick "Monochromatic"
- Then [Filter] → [Blur] → [Gaussian Blur] → radius 0.5-1 pixel
🎯 Effect: the red area looks like unevenly pressed ink, which reads as far more real.
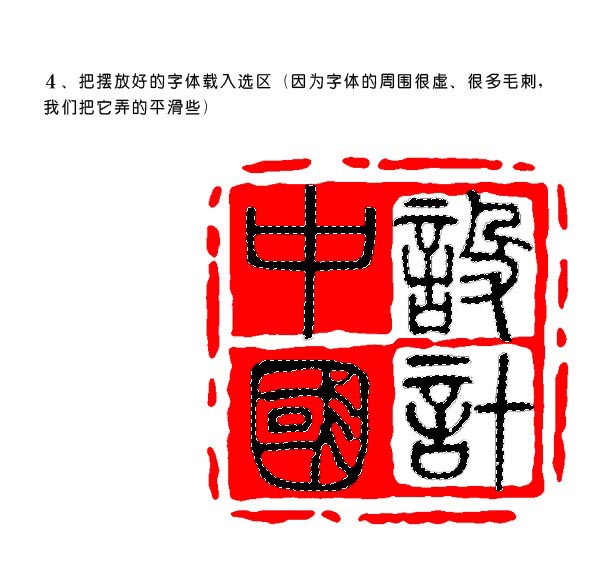
🖼️ Image 6: Find Edges + a rough edge → give the seal a slightly "ragged" border!
- Still on the red layer → [Filter] → [Stylize] → [Find Edges]
- Lower the opacity to around 70% (in the Layers panel)
✅ This gives the edge a slightly ragged look, like an old seal pressed onto paper.
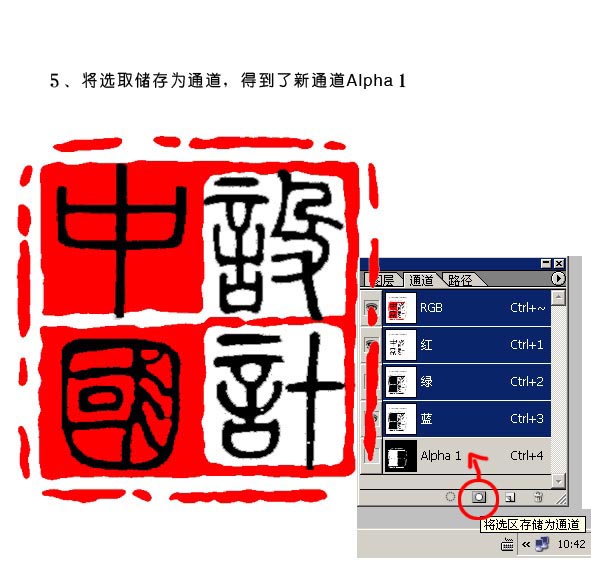
🖼️ Image 7: Add a round frame → make the seal look more complete!
- New layer → use the [Elliptical Marquee tool] to draw a circular selection
- Select the red layer → press Ctrl+Shift+I to invert → delete the surplus
- Or use the [Shape tool] to draw a rounded rectangle and fill it white as a backing plate
📌 The goal: make the seal look complete, with a border like a traditional stamp.
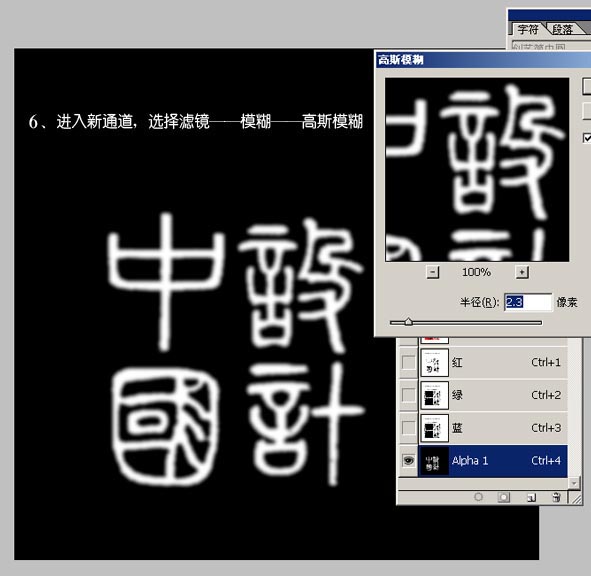
🖼️ Image 8: Add rice-paper texture → more of that antique charm!
- Search online for "rice paper texture PNG" and download one
- Drag it into PS → put it on the very top → change the blending mode to "Overlay" or "Soft Light"
- Lower the opacity to 20%-30%
✅ Effect: the seal looks as if it were stamped on rice paper — much more period charm.
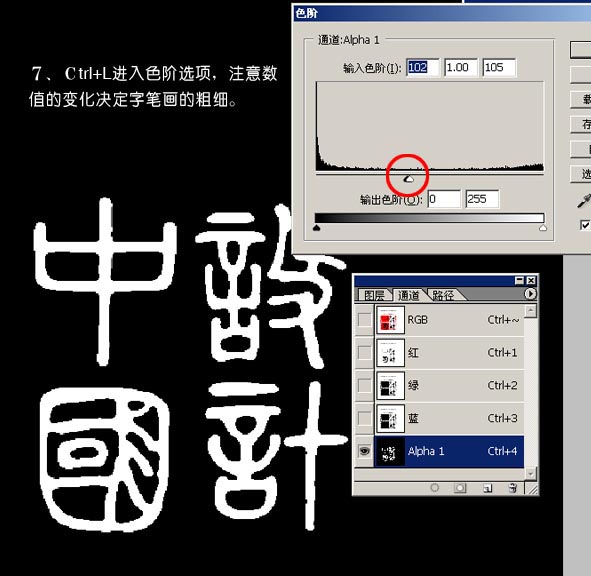
🖼️ Image 9: Refine the details + final result → add a handmade feel!
- Use the [Eraser tool] to gently remove surplus along the edges
- Use the [Brush tool] to add "ink spots" or dry-brush streaks
- Adjust the overall brightness/contrast (optional)
🎯 The goal: a seal that looks more natural and more handmade.
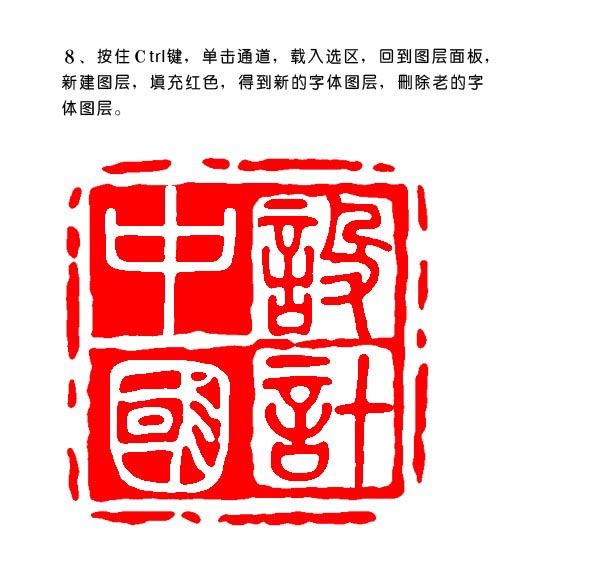
🖼️ Image 10: Save and export → done! Ready for social media!
- Click [File] → [Save As]
- Choose PNG (for screen use) or JPEG (for printing)
- A suggested filename: "fortune-seal_cinnabar-red.png"
✅ Once saved, you can post it, use it as an avatar, or print it out.
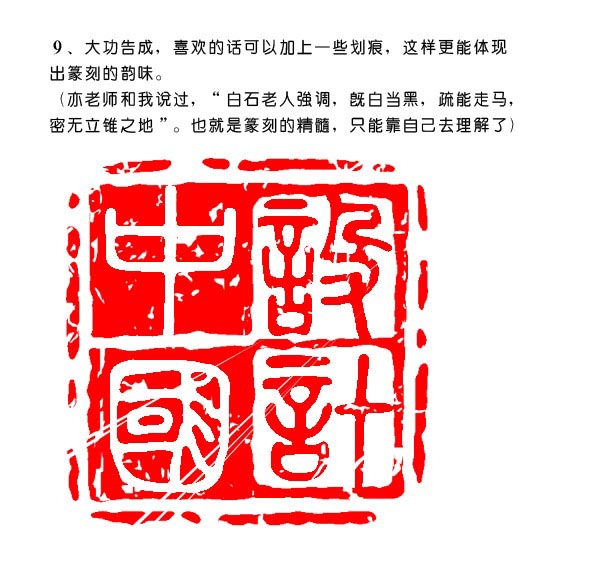
🧩 Summary: 10 images, 10 key steps
| Image | Corresponding step | Key action |
|---|---|---|
| image_01 | Finished result | See the target effect |
| image_02 | Type and choose a font | Use a seal or clerical script |
| image_03 | Rasterize + selection | Ctrl+click the thumbnail |
| image_04 | Fill with red | Alt+Delete to fill |
| image_05 | Noise + blur | Simulate uneven ink |
| image_06 | Find Edges | Roughen the edges |
| image_07 | Add a frame | Round or rectangular, either works |
| image_08 | Add texture | Rice-paper texture lifts the quality |
| image_09 | Refine details | Clean the edges, add ink spots |
| image_10 | Save and export | PNG or JPEG |
✅ Now you know what each image shows!
👉 Follow along image by image, and even a complete beginner can turn out a Chinese-style seal with ease.