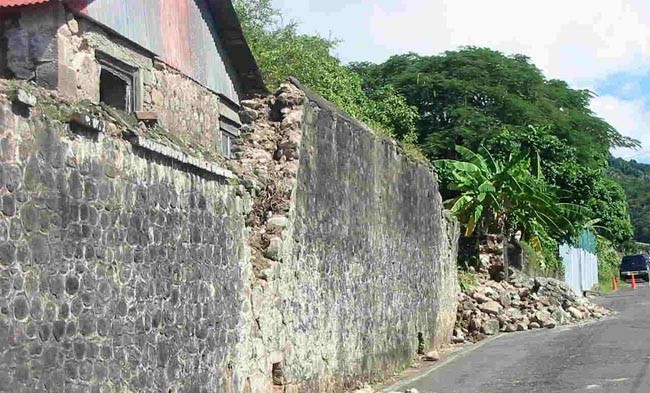
Making type look carved into a wall comes down to perspective and blending modes. A stroke plus a drop shadow gives the lettering depth, Perspective Warp lays it flat against the wall's angle, a blending mode lets the wall texture read through, and then you erase the leftovers so it looks genuinely cut in.
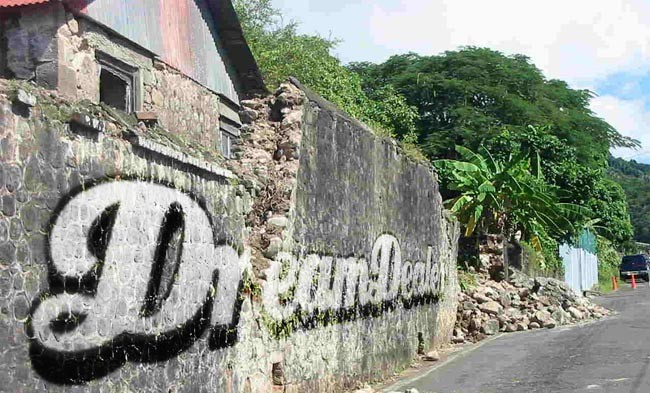
📝 The full walkthrough
1
Step 1: Type, stroke and drop shadow (give the letters depth)
- Open your photo of the wall.
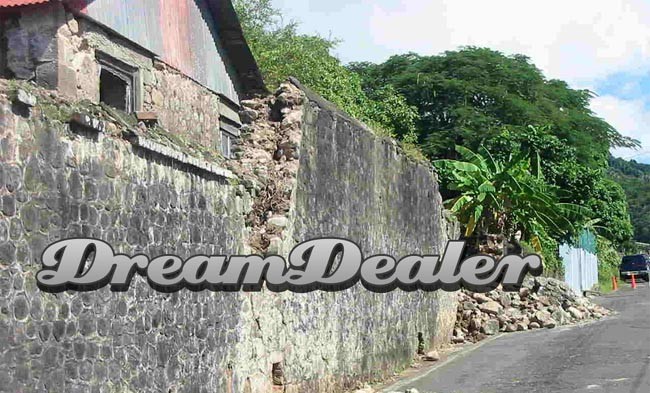
- Pick the Type tool (T), click on the wall and type the words you want carved.
- Choose a font you like — a heavier weight works better, for example Source Han Sans or FZLanTing.
- Right-click the type layer → Blending Options, then tick Stroke and Drop Shadow and dial them in until they look right.
- Add an empty layer (Ctrl+Shift+N), drag the type layer onto it, then right-click → Merge Layers.
2
Step 2: Make the text sit on the wall (Perspective Warp)
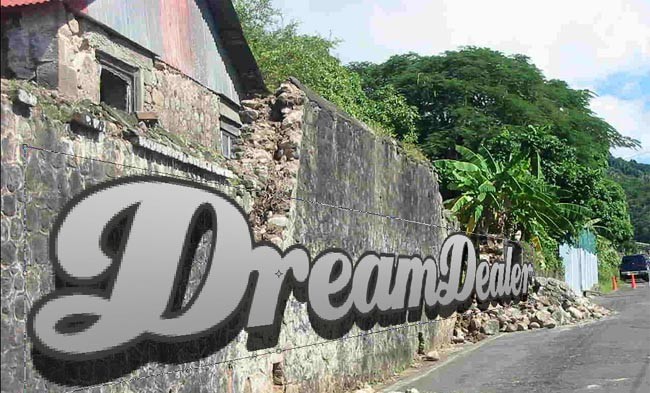
- Select the layer you just merged.
- Press
Ctrl + Tto enter Free Transform. - Right-click inside the box → Perspective.
- Drag the four corners so the text lies against the wall surface — if the wall runs at an angle, the text has to lean with it.
- Press Enter to confirm.
3
Step 3: Fine-tune the angle (so it looks natural)
- Press
Ctrl + Tagain. - Drag the corners or the rotation centre with the mouse until the angle hugs the wall more closely.
- Press Enter to confirm.
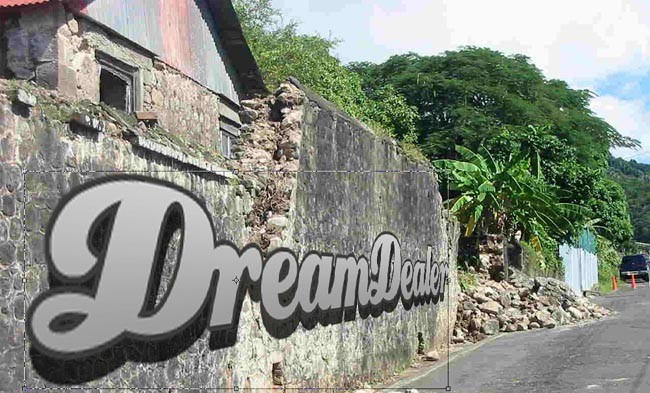
4
Step 4: Blend the text into the wall (blending mode)
- In the Layers panel, change the type layer's blending mode from Normal to Overlay.
- You'll see the letters start to sink into the wall — it already looks somewhat incised.
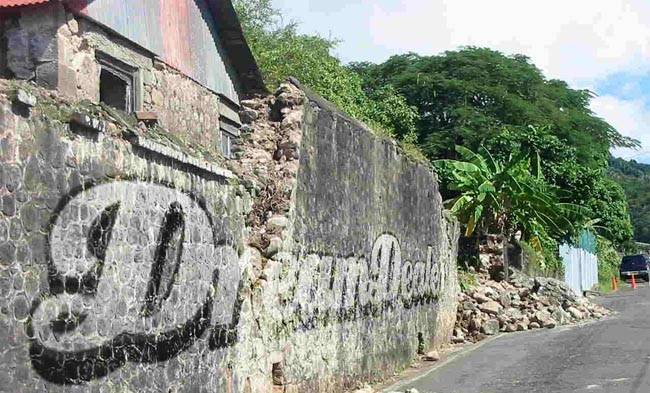
5
Step 5: Add a shadow (more depth)
- Press
Ctrl + Jto duplicate the type layer — you now have two identical text layers. - Select the lower one, then Filter → Blur → Gaussian Blur and enter 5.
- The lower copy goes soft, reading like shadow trapped in the grooves of the wall.
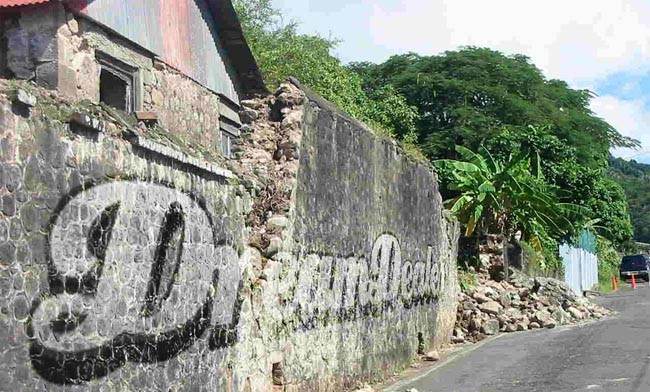
6
Step 6: Erase the excess (so the text is embedded, not floating)
- Pick the Eraser tool (E) and shrink the brush a little.
- Gently erase the edges of the letters wherever the wall has a chip, gap or hollow.
- Now the text looks truly cut into the wall instead of pasted on top of it.
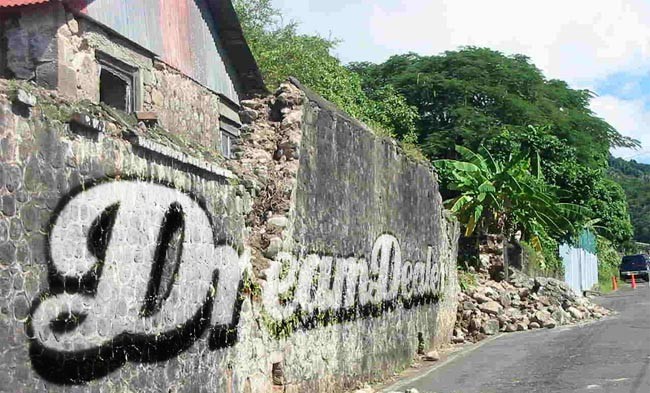
💡 Tips
- Use a heavier font weight — the effect reads as far more convincing.
- On a brick wall, add a little texture or noise to sell it.
- No Photoshop? Try the online editor at zaixianps.cc — nothing to install, it runs straight in the browser.